The best possible heating source for your home is one that provides the ultimate temperature comfort while almost not being there. Radiant floor heating more than meets this criteria with energy efficiency, cost-effectiveness, and cozy comfort even in the coldest climates. With this radiant floor heating design guide, Plymouth Plumbing & Heating shares important information about this popular and effective heating system.
Radiant Flooring Explained
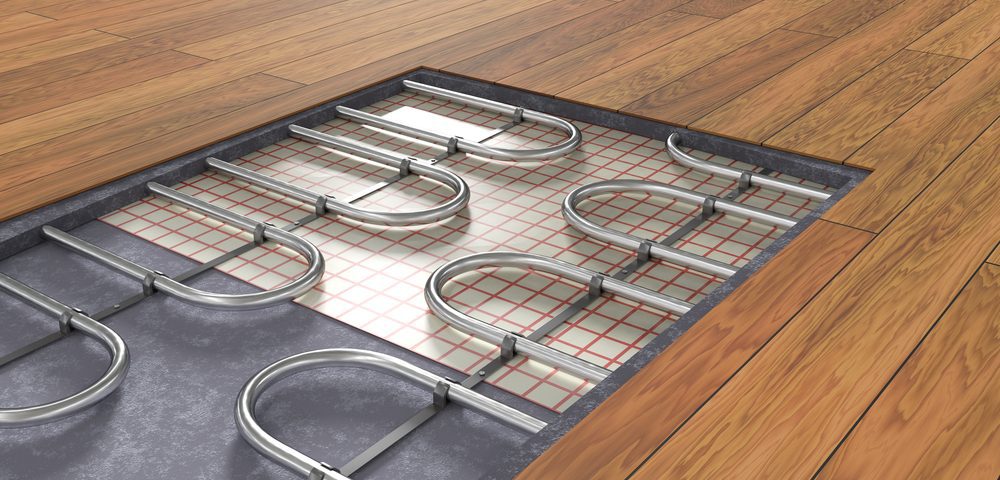
Radiant floor heating systems provide heat through electric wires or matting, or hot water tubing that is within or underneath your home’s flooring material. Thermal radiation allows heat to rise from below and warm the air above, including any objects in the room. The heated objects, such as your furnishings, also radiate any captured heat into the room.
The room’s air temperature stays constant, keeping you comfortably warm. Moreover, the warmed furnishings and wall surfaces do not steal heat from your body, allowing you to stay warmer, longer.
Radiant Floor Heat vs. Conventional Heat
In a considerable contrast, conventional forced-air heating systems are noisy, filled with pollutants, and heat rooms quite unevenly. Heated air blows out of the registers at around 120 degrees, then rises to the top of the room. As this air sheds heat, it drops back down. The result is that your head bakes while your toes freeze.
Two Main Types of Radiant Floor Heating
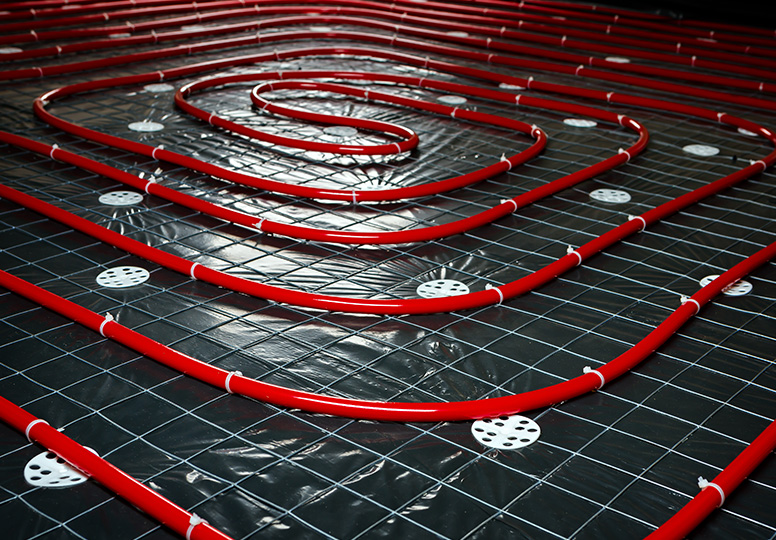
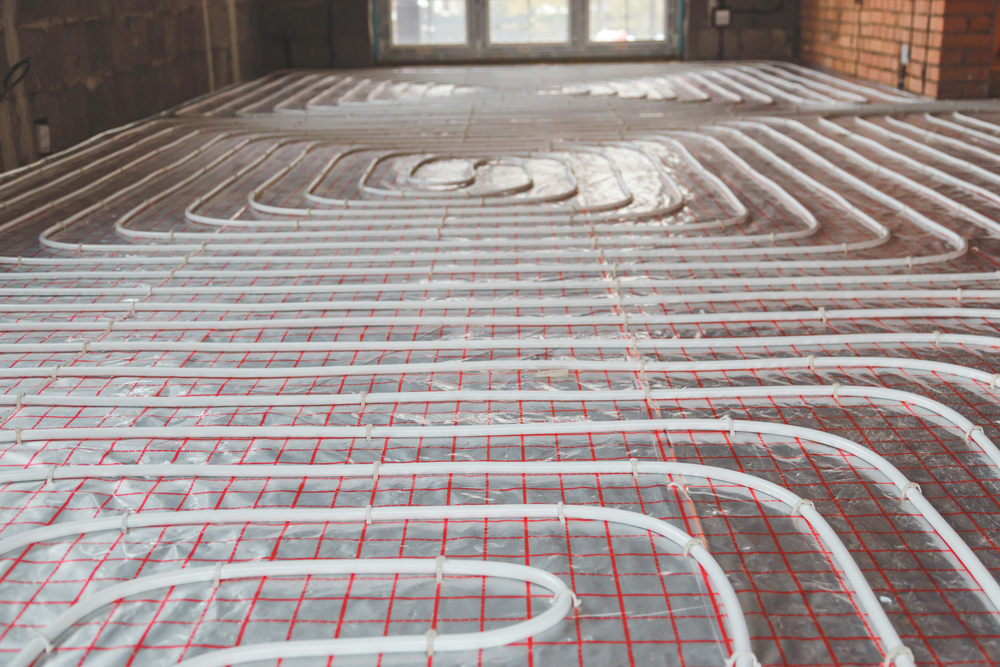
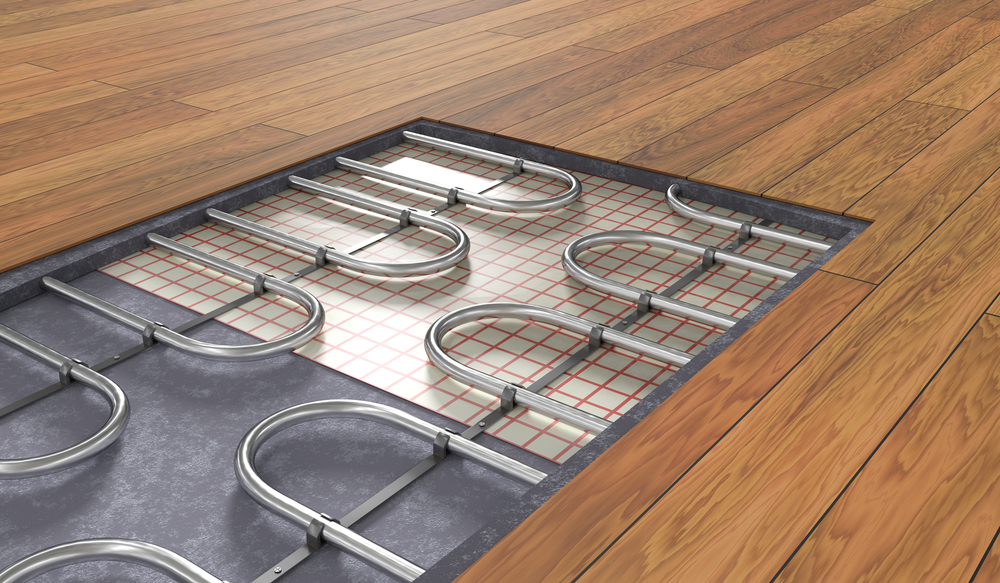
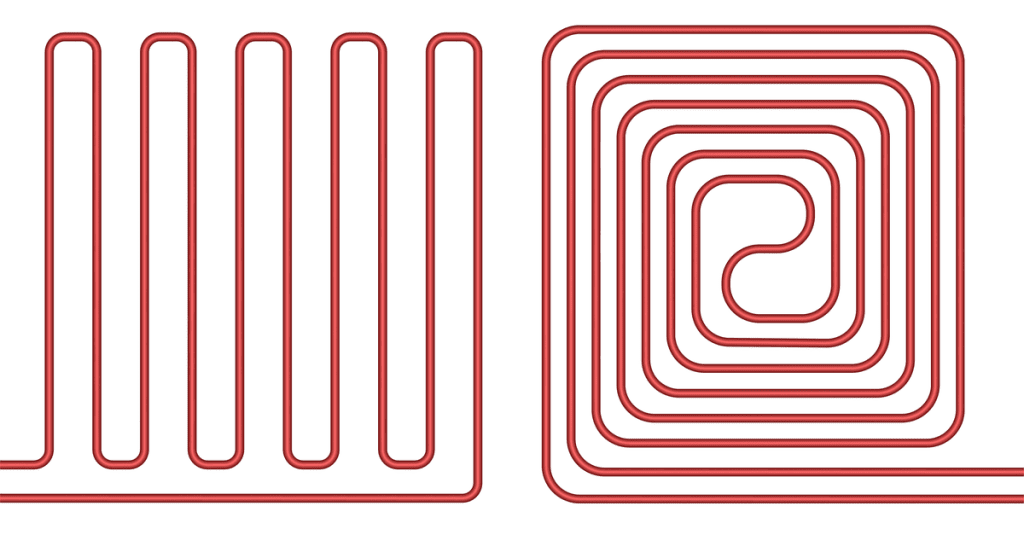
There are two main types of radiant floor heating that you can install in your home. One uses heated water, called a hydronic system; the other uses electric cables. With electric radiant heating, loops of heat-conducting cable are zigzagged evenly underneath the floor. Hydronic systems loop tubing underneath the floor through which hot water flows.
These radiant components can be embedded within concrete or attached to subflooring. With subflooring, flooring material that conducts heat is layered over the system, such as hardwood, laminate, or tile. Carpet is not generally recommended.
Common Radiant Flooring Mistakes
Radiant flooring is a great system, but few things could be more frustrating than to spend time and money installing a radiant floor heating system, only to discover that it does not work. No radiant floor heating design guide would be complete without highlighting some important installation mistakes to avoid. Here are the most common mistakes.
Inadequate Insulation
Many think that because radiant floor heating heats the floor, and heat naturally rises, that insulation is almost unnecessary. This is a serious error. In fact, the most crucial factor to remember about insulation is not neglecting to insulate the floor underneath the radiant heating system.
Insulating underneath the floor makes sure your radiant heat is traveling up into the floor and not down into your basement or crawlspace. You gain considerably more of the heat from the system with under-floor insulation.
This includes insulating a concrete slab when installing a system within the concrete. A frost wall around the outer edge of the concrete slab captures much of the heat and keeps it within the floor and traveling upward, not outside.
Of course, the better insulated your home’s walls and ceiling, the more of the radiant heat will stay within your rooms for comfort. This also saves you energy dollars on your heating bill.
Tubing or Cable Installation Errors
Care should be exercised when installing either the electric cables or mats, or the hydronic tubing. These components can be installed too deeply in the floor and struggle to provide enough heat for your space. In concrete, if the tubing is too deep, you will waste lots of energy heating the slab and still not have a comfortable room above.
Make sure the heating components are distributed in an even pattern at a uniform distance from the flooring material. You want your tubing, cables, or matting relatively close to the hardwood, tile, or laminate in order for proper heat conduction to occur.
You should also ensure that no breaks or cuts in the cables or tubing occurs during installation. Leaky tubing in a hydronic system can cause serious water damage that may not be discovered for some time. And damaged electrical cables can short out the system or even cause a fire.
Failing to Test the System Before Final Flooring Installation
Discovering that your installation is faulty after the flooring is laid or the concrete is poured is the worst possible scenario. Avoid this by testing the entire system before the final flooring installation. Connect everything to water and electrical components and run the system for some time. Experiment with different thermostat settings to ensure every part of the system operates as expected. Closely examine every inch of hydronic tubing for leaks.
Pouring the final concrete or laying the surface floor covering should always be the final step of installing radiant floor heating in any room or space.
Your Radiant Floor Heating Design Guide
We’ve already discussed much about installing your radiant floor heating system, but there are still some important considerations to review before you begin tearing out old flooring and laying out components. This radiant floor heating design guide includes vital steps.
Determine Your Needs
Decide the rooms that will be best served by radiant floor heating. Some homeowners only install floor heat in hard-surface rooms like the kitchen and bathrooms. Some homes contain nothing but hard floors and radiant heating is a good solution throughout the home. After you decide which rooms will receive the installation, you need to calculate the square footage of each room.
Begin by measuring each side of the room. Most rooms are symmetrical (opposing walls are the same length) and measure 10 ft. x 10 ft., 10 ft. x 12 ft., or 12 ft. x 12 ft. Calculate the square footage of the room by multiplying the lengths of two connecting walls. For example, a 10x 12 ft. room = 10 x 12 = 120 square feet. Radiant floor heat installed in each room should be calculated. You will need this data to choose the correct length of electric heating cable or tubing for each room.
You will also need to determine if modifications to your existing floor are necessary prior to installing radiant floor heat. Depending on your floor and subflooring, the components for your radiant floor heat system may require more room than is available, making it necessary to raise the floor somewhat. An experienced carpenter can help you with figuring out how much space will be needed.
Choose Your System and Components
After choosing which rooms will enjoy radiant floor heat, you must decide which type of system would fit your home and your needs the best. Hydronic (hot water) installations are the best overall system, but they can be complicated to install in an existing home. Sometimes it can require raising the level of the floor, which may or may not be an option in your particular home.
Electric radiant floor heat is often a simpler installation, although you may still need assistance from an electrician or heating professional for some aspects. It does not occupy as much space underneath the floor as a hydronic system, and is easier to install in existing homes.
There are a few options from which you can choose for radiant floor heating components. Electric radiant heating can use cables or mats with embedded cable. Hydronic systems can feature several types and sizes of tubing. Confer with a heating professional from Plymouth Plumbing & Heating about your installation and the materials that would serve you best.
Install Your Radiant Floor Heating System Components
Now that you have everything you need, it’s time to remove the old flooring and prepare to install your new radiant floor heating components. After removing your floor covering materials and cleaning the space, lay out the heating cable or hydronic tubing in the precise pattern recommended by the manufacturer. This is vital to ensure even heating throughout the room.
With a standard wooden subfloor, attach the electric cables or tubing to floor joists at even intervals, making sure the cables or tubing will lie close to the flooring material. If you are installing components over a concrete or wooden subfloor, secure them to the floor with appropriate connectors.
After all the cables or tubes have been properly secured, connect them to the water and electrical systems, thermostats, pumps, and water heaters and run a complete test of the system. Make sure the system is working as designed before laying the floor coverings or pouring the top layer of concrete.
Decide if DIY or Professional Installation is Warranted
If calculating your needs, determining the proper layout for each room, and installing all the components seem much too difficult. You should contact Plymouth Plumbing & Heating for assistance. Our team members can work with you for a complete installation of your radiant floor heating system, whether it be a single space or your entire home.
Call us today at 920-893-3601. send an online message to inquire about using this radiant floor heating design guide or for more assistance.
